MP4 | Video: h264, 1280×720 | Audio: AAC, 44.1 KHz
Language: English | Size: 792 MB | Duration: 1h 17m
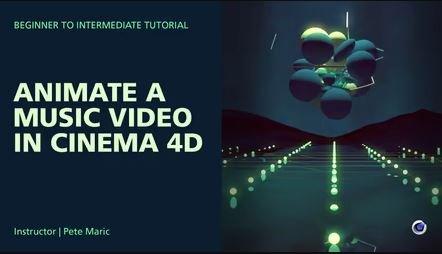
Welcome to this course, Animate a Music Video in Cinema 4D. This is a beginner to intermediate course and a basic understanding of Cinema 4D’s user interface is recommended.
In this series of lessons we will cover the fundamentals of creating an abstract music video using Cinema 4D’s sound effector, syncing animation with audio files, and specifying parameters to control the movement of abstract shapes.
Students will apply that knowledge to develop a motion graphics project to complete a one-minute music video. This course will also cover using garage Band for sound design and Adobe After Effects for Post-Production.
The topics this course will cover include the following
01_Project Overview
An introductory overview of the project, rough storyboard and establishing a color scheme.
02_Audio Files
Overview of music and sound file options from customs-creating your own music to royalty free online resources
Overview of music used in final animation
Learn Garageband compositional techniques to craft your own original music
Export individual tracks and the full track as .wav files
03_Scene Set-Up
Create materials based on the color scheme selected an input PMS colors
Create parametric primitive landscapes and water
04_Sound Effector
Overview of the sound effector and how it works
Learn the most important sound effector parameters, how to control them, and how they affect animation
05_Animation, Dynamics, Simulation
Use the sound effector to drive animation and control position, scale and rotation
Apply the Mograph cache on all cloners for faster and more accurate playback
Add rigid body tags to cloners for various effects
Specify the ‘follow position’ rigid body parameter to control the models position
Use the MoGraph cloner in various modes (grid, object, linear) to build animation
Use of the spherical field to control sound effector falloff
Introduction to the vibrate tag and how to use it
Create an atom array object to build a grid and specify thickness
Use the plain effector and spherical field to grow the grid in sync with the other animation
06_Bonus Lessons
Add hair to geometry via the simulate menu
Specify hair parameters; length, count, and material attributes
Learn about ‘Set Driver’ and ‘Set Driven’ Parameters to power animation
Get familiar with Xpresso’s Range Mapper to specify output parameters to control the animation
07_Cameras
Utilize the camera’s grid to frame your compositions
Use the stage objects to animate between cameras
Animate the cameras position for added visual interest
Animate each objects ‘visible in editor’ and ‘visible in renderer’ attributes to control what the cameras sees in each shot
08_Lighting
Create a basic 3-point light set-up utilizing spot and omni lights
Create a background object and apply a material
Do test renders to view lighting results
09_Rendering
Set-up render settings for final output
10_Post-Production
Import final animation and sound files into After Effects
Add a Fractal Noise effect to create interest in the background
Add a Blur effect to focus the viewers attention on the main parts of the animation
Add a Vignette for visual interest
Apply a Glow Effect to the animation
Add an ending fade
Add animation to type for the closing title
Password/解压密码www.tbtos.com
