English | April 2015 | mp4 | H264 1440×810 | AAC 2 ch | 2.36 GB
eLearning | Course Number: MDO203
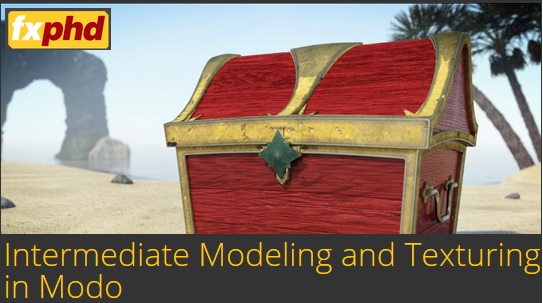
This course, led by Pat Crandley, aims to help artists create Sub Division Surface Models in Modo. In this course you’ll explore of the tools, techniques and, most importantly, the thought process behind creating high resolution geometry for your scene. Understanding the role of the sub division surface algorithm will help you plot out the edge flow of your model and help you create fine geometric details and textures.
In addition to exploring the sub division surface modeling framework, you’ll also explore the UV mapping process in Modo. The UV mapping tools in Modo quickly produce strong results and the strategy behind the technique will be developed throughout the UV mapping stage. We’ll explore some great additions to the UV mapping tool set in Modo and look at how to create UVs for tricky geometry. We’ll wrap up the UV Mapping module by looking at the UDIM framework in Modo as we look to send our UVs to your favorite texture painting application.
To conclude, we’ll explore the procedural generation inside of Modo. A majority of the texturing detail can easily be created with procedural textures. Combined with group masks, procedurally created textures paired with great UV maps will yield us great results. 3D modeling and texturing can be a laborious process. Great 3D modelers don’t work hard, they work smart. This course aims to arm you with the strategies and techniques to get you to your final render faster.
Pat Crandley has been a 3D modeler, animator and editor in the computer animation and visual effects industry for over 10 years. Crandley served as the Post-Production Supervisor for the 3D Animation department at MTV and oversaw the production of a computer animated series called Video Mods. He also worked as the lead modeler and animator for a series of commercials for Coke, Mike’s Hard Lemonade and Debers Diamonds. Currently, Pat is teaching the next generation of 3D modelers and animators at Sacramento City College and The Art Institute of California: Sacramento.
course syllabus
Class 1
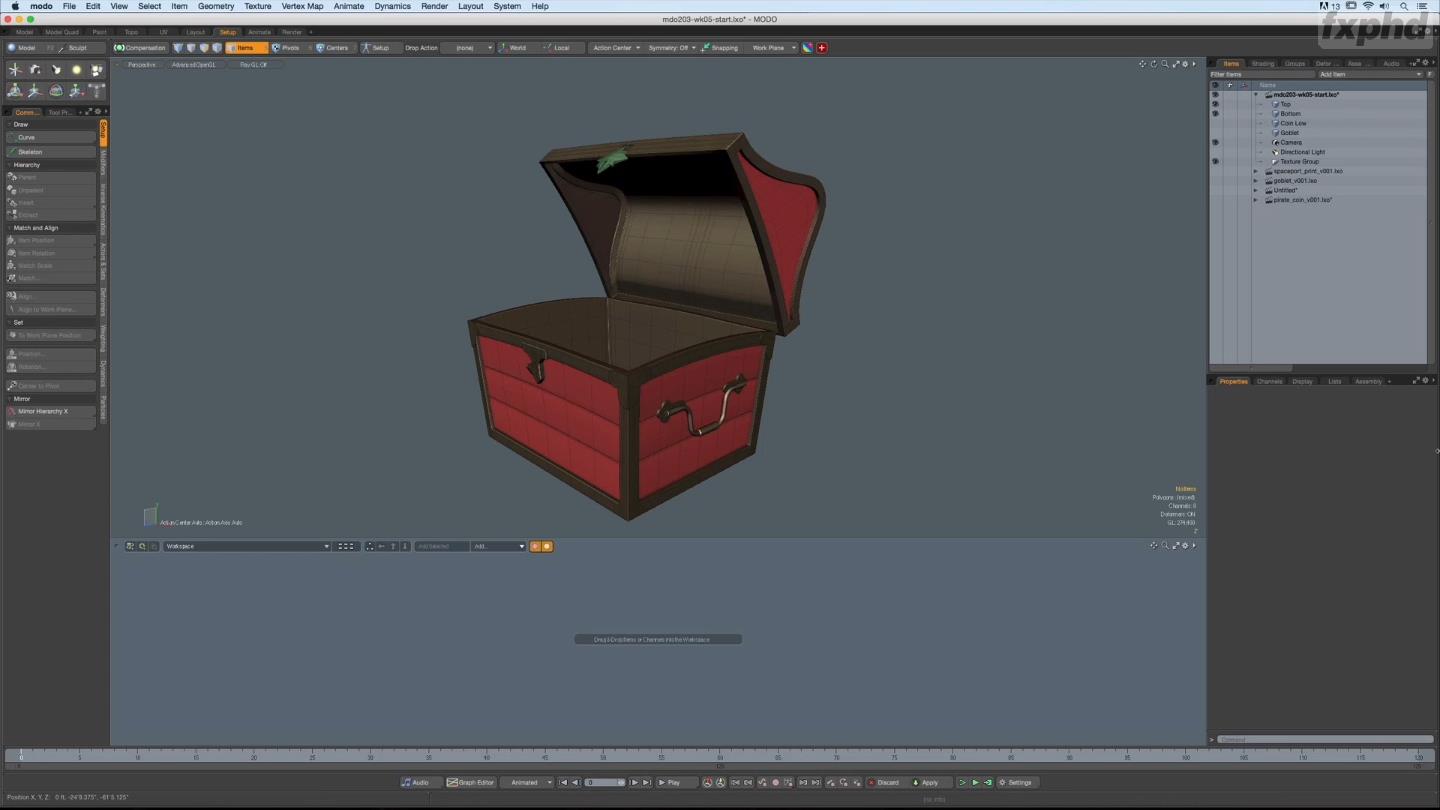
Layout and Rough Geometry. To begin, we are going to explore the overall shape, form and proportions of the model. Once we have examined our reference and laid out our battle plan, we’ll start roughing out the shape using the simple shape creation tools in Modo. An analysis of the form will yield us some interesting information and help us determine the correct application of the tools and technique. At the end of the day, we are going to be initially modeling a fourth of the chest and then let our mirroring tools do the rest of the work.
Class 2
Sub-Division Surface Modeling Working with Sub-Division Surfaces can be a challenge. We’ll start off by exploring how sub-division surfaces work and talk about how the algorithm influences the model. Through our exploration, we’ll start to see how we can influence the intensity of the algorithm by strategically inserting geometry into our model. Pixar Sub-Division Surfaces are awesome, but they are not without their considerations. Creating the top of the treasure chest will test our skill and help us understand the role of edge loops, edge weight and controlling curved surfaces with the correct polygonal flow. Fall-offs will help us achieve the type of shape we are after. If everything goes according to plan, you should have the top of your chest completed this lesson!
Class 3
Creating and Controlling Curves. No treasure chest is complete without a little treasure to go inside! We’ll explore how to create a few of treasures that will go inside the chest. To create our gold coins, goblets and gems we’ll take a look at the differences between the Modo curve tools, duplication tools, explore the amazing Modo snapping engine and discuss different approaches to creating cylindrical shapes. There be gold in this chest!
Class 4
UV Mapping. Now that we constructed all of the geometry in the scene, we’ll need to start building UV maps to accompany the models. This lesson is going to be all UV mapping, so we’ll start off by talking about the strategy of UV mapping and explore how the tools help us achieve the result we are after. The UV mapping tools are really great, so we’ll explore how they all work and the benefits of each. The Unwrap Tool is the most powerful tool in our arsenal, so we’ll spend a lot of time exploring how it works and the direct benefits of apply this tool to our scene. There are some really great free plug-ins for UV mapping that make the Modo UV mapping process really easy, so we’ll take a look at those too.
Class 5
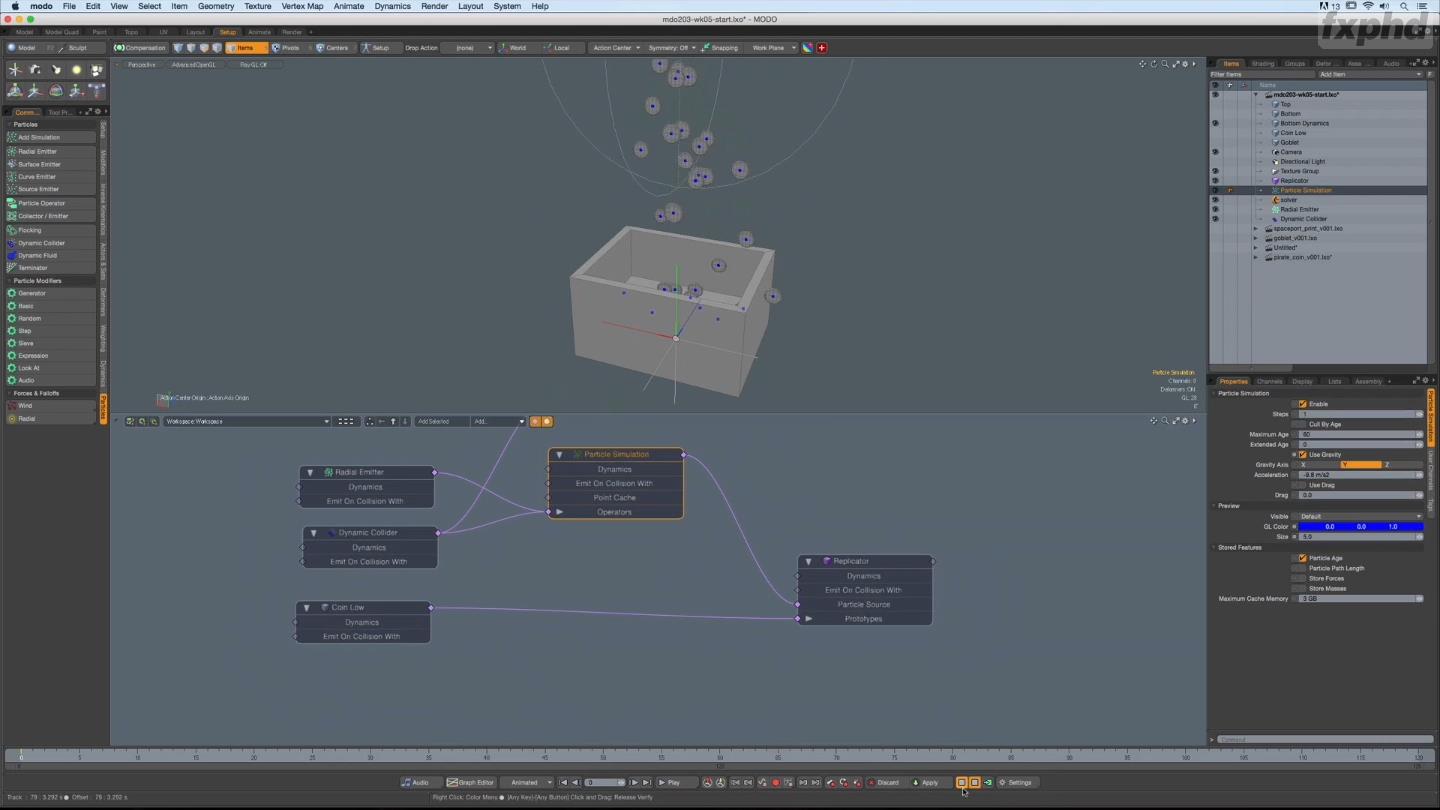
Duplication and Replication. Now that we have created our treasure and made their UV maps, let’s take a look at how we are going to place it inside the chest. All of the UV information will get duplicated with the geometry, so its a great idea to have the UV maps wrapped up by now. The Modo duplication system has a few different facets, so we’ll explore the pros and cons of duplicating items, creating instances and replicating geometry. At the end of the day, the coins, goblets and gems are going to be static items, so replicators should give us the best result for our scene. We’ll have to create a point cloud, so we’ll explore the different ways to achieving this result and duplicating our geometry.
Class 6
Creating the Environment. We’ve spend the last 5 lessons creating our treasure chest and now it is time to create an environment for the chest to live within. Great images are accompanied by a simple environment that provides context to the focal point of the render. We’ll rough out the spatial relationships between the objects in our environment, places trees, rocks, an ocean and some cool rock structures far-off in the background of our scene. We’re building a world this lesson!
Class 7
Texture Generation. The fastest way to ruin a great model is to put a horrible texture on it. We’ll start putting textures on our treasure chest. Believe it or not, but the majority of textures that were used to create the final render were created right here in Modo using the procedural texture generation engine. We’ll explore the full spectrum of procedural texture that we can create in Modo and some techniques to apply them to our model. Masking materials and material groups in the shader tree will help us create the illusion we are after, so we’ll spend a lot of time exploring the masking system. In addition, we are going to be blending a lot of layers together, so we’ll explore how the blend modes work too!
Class 8
Baking. Modo has a really great texture baking engine and we are going to be want to take advantage of it for our scene. Part of being a great 3D modeler is creating assets and scene that are optimized for rendering, so we have a responsibility to the rest of the production pipeline to make our scenes render efficiently. Baking normal and ambient occlusion maps will help us extract high resolution detail from our geometry and place it on lower, more render efficient objects. In addition, we’ll take a look at the cage based baking system in Modo and compare the results to the default system.
Class 9
Nodal Shading. The nodal shading system in Modo allows us to connect different channels from different items in the shader tree. With this system in hand, we can create highly customized effects that are controllable and efficient. The Rounded Edge shader and occlusion shader will be big players in the nodal shading system for our treasure chest. The values of one item will influence the values of another.
Class 10
Final Rendering. Well, its come down to this……the final render. We are going to take a look at a few different approaches to rendering our scene. we’ll start off by exploring the composition of our render. At the end of the day, we are in the business of creating 2D images so the framing of our object is important. Of equal importance are the camera settings. We should always being exploring how we can achieve a more photographic render so creating depth of field is a critical component to the success of our render. There are a few different approaches to creating depth of field, so we’ll explore those too. In addition, we’ll also take a look at how the physical sun properties will effect our environment. We’ll wrap up the course by exploring the different render outputs we’ll need to create and set up all of our render passes for final compositing in Photoshop.


Download uploaded
http://uploaded.net/file/fdrn197i/IModo.part1.rar
http://uploaded.net/file/vpyd7dhd/IModo.part2.rar
http://uploaded.net/file/5zr1gypl/IModo.part3.rar
http://uploaded.net/file/dfry4tyk/IModo.part4.rar
http://uploaded.net/file/i6sjw3vc/IModo.part5.rar
http://uploaded.net/file/3n5w4m41/IModo.part6.rar
Download nitroflare
http://nitroflare.com/view/4A48AFC9C0301AC/IModo.part1.rar
http://nitroflare.com/view/20D990F2D64BA65/IModo.part2.rar
http://nitroflare.com/view/7311E2828FAABBB/IModo.part3.rar
http://nitroflare.com/view/13516663C8814DA/IModo.part4.rar
http://nitroflare.com/view/FFDF0898BB2AFD3/IModo.part5.rar
http://nitroflare.com/view/0A186DF99A461E7/IModo.part6.rar
Download 百度云
你是VIP 1个月(1 month)赞助会员,
转载请注明:0daytown » Intermediate Modeling and Texturing in Modo