Last updated 10/2020
MP4 | Video: h264, 1280×720 | Audio: AAC, 44.1 KHz
Language: English | Size: 10.34 GB | Duration: 9h 13m
Learn the secrets of retopologizing in 3dsMax
What you’ll learn
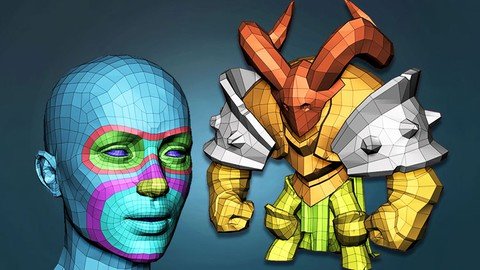
In this course we will make the full character retopology in 3dsMax. We will learn how to export your high poly from Zbrush, put it in to 3dsMax and arrange polygons over it. We will also learn how to make a good, production ready retopo of the realistic human haead and hand. And also make all the UV unwrapping.
Requirements
You should want to put your Zbrush models in to a game engine or render them efficiently.
Description
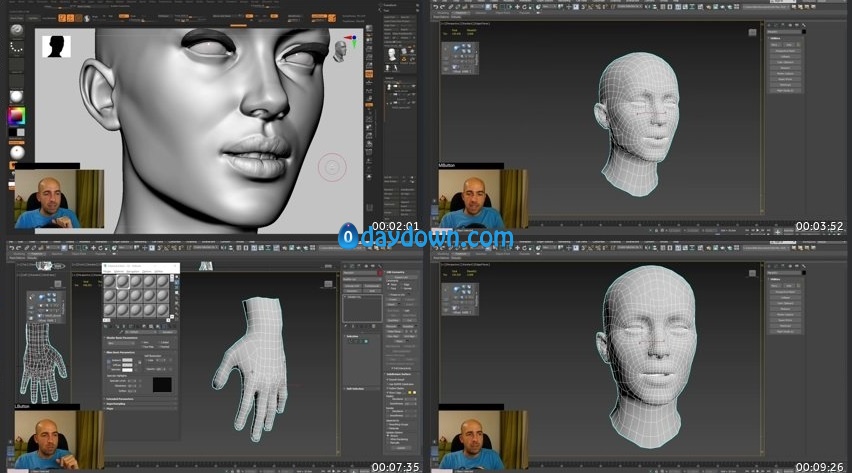
You probably have always wondered, how to make your Zbrush models animation ready and prepare them for texturing? How to make this retopologizing step that everybody is talking about? How to make this jump from couple of million polygons to just a few thousand? All those questions, and more, will be answered in this course. My name is Niko, and i am a 3D character artist for more than a decade now. I have made numerous characters for numerous games. And for all of them i was using the style of retopologizing and UV mapping i will show you in this course. Using the retopology and UV unwrap tools that come default with 3ds Max, we will retopologize a simple cartoon character. We will then make it’s UVs, so he is ready for baking and texturing in Substance painter (whch we will do separately in the Substance painter course). As a bonus i will show you how to retopologize and unwrap an animation ready realistic head with open mouth and also a realistic hand. In this course we will learn:Preparing your mesh in Zbrush for exportExporting your meshes from Zbrush and import them in 3dsMaxBaiscs of 3dsMax, needed for retopologyHow to start the retopology of a characterRetopologizing tricks and hintsBasics of 3dsMax UV unwrap Hints and tips on efficiant and quality unwraping of a characterExporting a high poly realistic head from Zbrush and importing in 3dsMaxRetopologizing a realistic head with loops in the right places ready for animationMaking good and useful UV map of a human headRetopology of a human handUV mapping of a human handSome interesting random artistic stuff when we are doing something repetitive :)We will start in Zbrush, where we will spend some time to organize, merge and prepare the high poly meshes for export. Then we will decimate the high poly so we can import it in 3dsMax without too much performance issues. We will see how to export meshes from Zbrush and import them in 3dsMax. Then we will get familiar with the retopology tools and get some basic knowledge about 3d Max. After that we will start the retopolology from the head and horns, and then going trough every separate pieces we have, like the arms, shoulders, cape and legs. As we go i will tell you how i do retopology and how i approach the problems when retopologizing. We will then get familiar with the UV unwrapping capabilities embeded in 3dsMax, and we will start unwrapping the character piece by piece and checking our unwrap with a checker texture. When we finish, we will arrange all the pieces in a sqare texture space like a puzzle. When we are done with that we will export a realistic head from Zbrush, and import it in Max so we can start making it’s topology. We will make a topology which is animation friendly and also include the inside of the mouth. Next will be, of course, making the UV unwrapping of the head, in which i will show you how to use Zbrush as a very good unwrapping tool. We will do all this steps again for a realistic hand too. I made this course for absolute retopology beginners and no previous knowledge of 3dsMax is required. I made this course in 3dsMax, because i always made my retopologies and UV mapping there, i think it is a pretty good software for this purpose, and i am ready to prove it! So see you in the first video of the course!
Password/解压密码www.tbtos.com
转载请注明:0daytown » Absolute Beginners Retopology And Uv Unwrapping In 3Dsmax
