MP4 | Video: h264, 1280×720 | Audio: AAC, 44.1 KHz
Language: English | Size: 936.53 MB | Duration: 1h 14m
Learn the fundamentals of rendering in this V-ray for Rhino 101 Course and create your first photo-realistic render.
What you’ll learn
Description
About
In this course, we will walk you trough the basics of setting-up and rendering your scene. We are going to use Rhinoceros 3D combined with a rendering plugin called V-ray. We choose V-ray, because it is one of the most powerful rendering software out there, especially for architectural renderings. It is also remarkably easy to use, so your learning curve will be as smooth as possible.
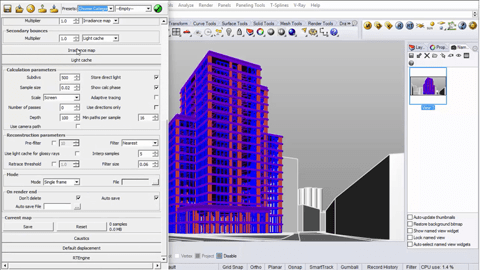
We are going to start by explaining the basic interface of V-Ray and the most important options we are going to use. After that, we will dive a little deeper into the most important settings we are going to use for our render.
V-ray has a default library with materials, but we´ll cover how can you create your own from scratch.
The last lessons will include setting up the environment, how to add a sunlight system and how to get the lightning precise for a particular time and location in the world. After we have rendered our final image, we will explain the different channels and their functions relevant for post-production.
Overview
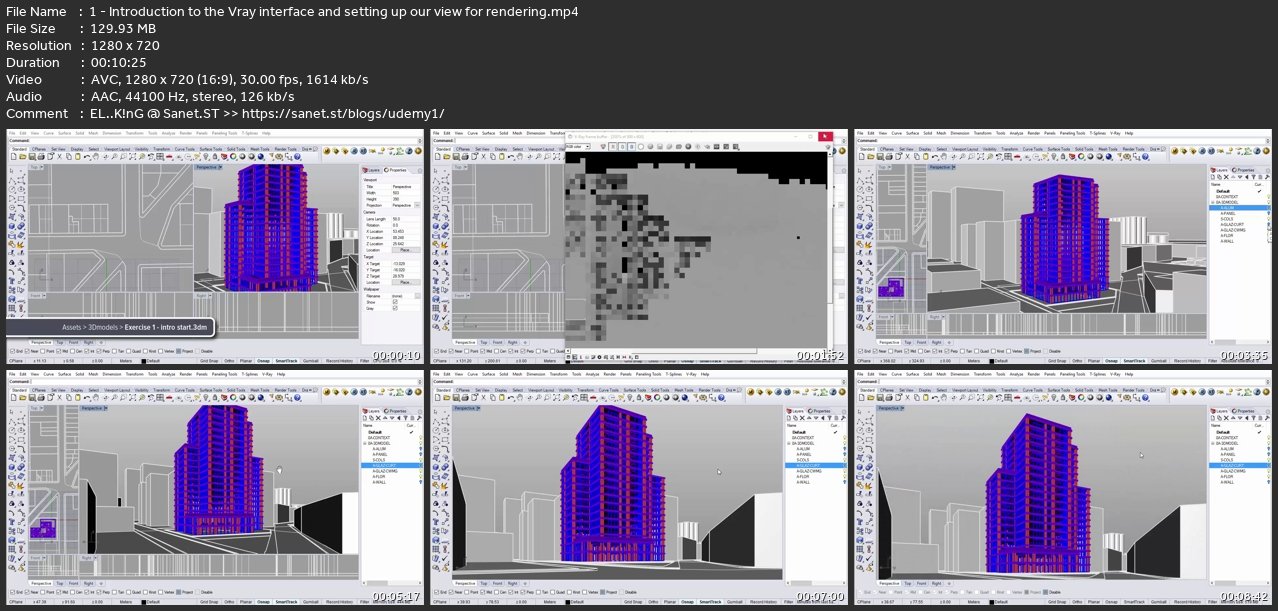
Lecture 1 Introduction to the V-ray interface and setting up our view for rendering
Lecture 2 Setting up our basic V-ray settings
Lecture 3 Setting up our materials
Lecture 4 Texture Mapping, Bump Mapping and Displacement Maps explained
Lecture 5 Setting up our environment
Lecture 6 Finalizing render and preparing files for post-production

Password/解压密码www.tbtos.com
转载请注明:0daytown » V-Ray For Rhino 101 – Fundamentals Of Rendering