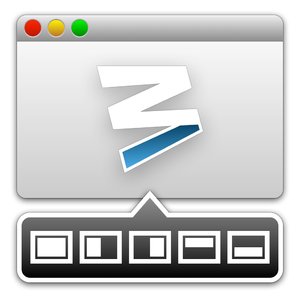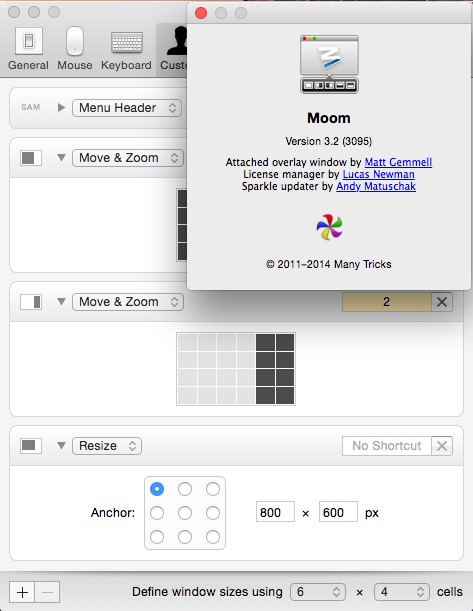
Moom for Mac是一款专为Mac准备的窗口管理工具,它能够让您移动和缩放窗口 – 使用鼠标或键盘 – 预定义的位置和大小,或到全屏模式。
当你使用鼠标控制Moom时,你只需要将鼠标悬停在一个绿色按钮上,随后会出现MOOM的界面,你就可以调整窗口大小。当然你也可以使用键盘,自定义快捷键, MOOM出现键盘板时,您可以使用箭头键和modifier键移动窗口。Moom可以运行传统应用程序,菜单栏应用程序,或完全后台运行的应用程序。
Moom 3.x | MacOSX | 7.5 MB
Zoom Button
Move your mouse over the green zoom button in any window, and Moom’s mouse control overlay will appear (as seen in the above animation). Here’s what happens when you click the various icons in Moom’s mouse control overlay:
– Move & Zoom to Full Screen
– Move & Zoom to Left Half
– Move & Zoom to Right Half
– Move & Zoom to Top Half
– Move & Zoom to Bottom Half
– Revert to Original Dimensions
Quarterly Results
Dragging the half width/height icons a few pixels—instead of clicking—transforms them, giving you even more options for arranging windows:
– Move & Zoom to Top Left Quarter
– Move & Zoom to Top Right Quarter
– Move & Zoom to Bottom Right Quarter
– Move & Zoom to Bottom Left Quarter
Quarters available via dragging depend upon which icons you drag. For instance, the left half icon lets you zoom to the top left corner by dragging up, and zoom to the bottom left corner by dragging down.
Multiple Displays
Drag those icons even further towards another display, and you’ll see a little arrow pop up, such as this one:
– Full Screen on Display to the Right
Provided there’s a display there, you can combine any zoom icon with any dragging direction to zoom and move to another display at the same time.
Grid
Moom’s mouse controls optionally include a grid that lets you resize and move windows by dragging your mouse across its segments. You can configure the number of segments (width and height) in the grid in Moom’s Settings.
Snap to Edges
In addition to using the grid or the overlay, you can move and zoom windows by dragging them to screen edges.
A preview shape appears when dragging, so you know exactly what you’ll get when you release the mouse button.
Each edge (full screen, half screen) and corner (full screen, quarter screen) can have a distinct action, and you’re in control over the delay before the action occurs.
You can even (optionally) undo any Moom action by simply dragging a window away from its moved and zoomed location.
Use the Keyboard
Once set up, you can use the keyboard to zoom windows to full/half/quarter-screen sizes, move them (while optionally confining them to the display) around, send them to another display; grow and shrink them, center them, and revert them to their pre-Mooming dimensions.
After pressing the keyboard mode trigger key you define, an onscreen overlay appears. While the overlay is visible, you can use easy-to-remember keys (e.g., the arrow keys, plus Return, Tab, and Space) to control the frontmost window, instead of having to memorize tons of outlandish key combos.
Save Your Window Layouts
Moom makes it so simple to arrange your windows, you’ll quickly find yourself with a nicely-organized screen, with each app residing in its own space, just as you like it. But as you work through the day, you’ll probably move windows around, resize other windows, and watch as your nicely organized window layout devolves into chaos.
After laying out your windows as you wish, create a new Arrange Windows Custom Control, and click the Save Snapshot button. This will save the layout—size and location—of all opened windows (optionally not saving obscured windows). Later, when you want your custom arrangement back, type the keyboard shortcut, or activate the saved layout via Moom’s menus.
You can create as many Arrange Windows Custom Controls as you wish, so you can easily restore window layouts for differing tasks, such as web surfing, writing, programming, etc.
The Many Phases of (the) Moom
Moom can run in three different modes. When run in Standard mode, Moom will have a Dock icon and menu items in the menu bar. In Menu Bar mode, Moom will only exist in your menu bar; click the menu bar icon to access its settings. Finally, in Faceless mode, you won’t see any sign of Moom’s existence at all—other than the fact that it will be sitting there, ready to go when you need it. (To access Moom’s settings when in Faceless mode, just double-click on the Moom application icon in the Finder.)
What’s new in this version:
– Modified some interface elements in preparation for Yosemite (OS X 10.10).
– Prepared for upcoming Gatekeeper changes.
– Disabled Moom in Chief Architect and DockView, due to issues with those apps and Moom.
– Worked around an issue in DynamicLyrics

System Requirements
Moom 3.2 requires OS X 10.7 or newer.
Home Page – http://manytricks.com/moom/
Download uploaded
http://uploaded.net/file/zto8lre0/Moom3.2.6.rar
Download nitroflare
http://nitroflare.com/view/1A45D610554ED9F/Moom3.2.6.rar
Download 城通网盘
http://page88.ctfile.com/fs/JTa160190910
Download 百度云
http://pan.baidu.com/s/1eSBOwXO
转载请注明:0daytown » Moom 3.2.6 MacOSX