MP4 | Video: h264, 1280×720 | Audio: AAC, 44.1 KHz, 2 Ch
Genre: eLearning | Language: English + srt | Duration: 30 lectures (8h 21m) | Size: 6.5 GB
Three tutorials in one
What you’ll learn
You will learn how to model in Blender
You will learn how to create more complex textures in Blender
You will learn how to create a scene, set up a camera and lighting
You will learn the basics of animation in Blender
You will be taught how to do post-processing in Blender and After Effects
You will be taught how to achieve a cinematic look
Requirements
It’s good to have a little experience with Blender
Description
Learn how to make a realistic and cinematic scene in Blender in three separate courses for the price of one. Each course lasts about 3 hours, learn how to model in Blender, how to create realistic materials, and set up lighting. You can also learn something about animation in Blender. Finally, we will do post-processing in Blender Composer and After Effects.
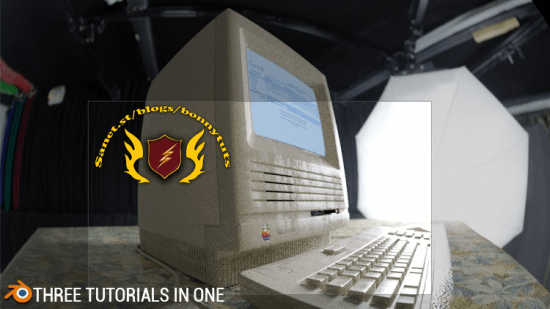
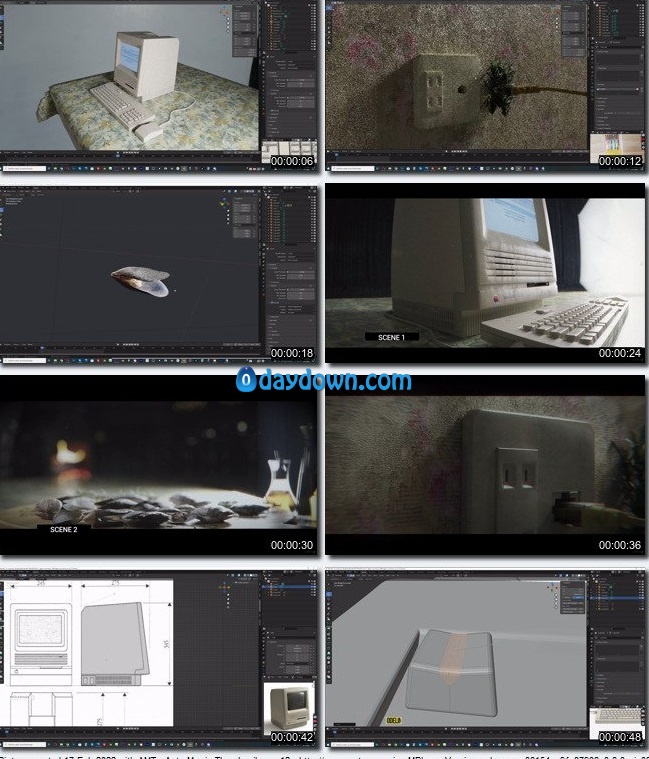
TUTORIAL 1 – Old Apple Macintosh Cinematic Look Tutorial – 2 Hours 40 Min
Part 1 – Old Apple – Modeling Macintosh SE 30 – 36min
– Import and modeling with blueprints
– Learning modeling techniques in Blender
– Learning shortcuts in Blender
Part 2 – Old Apple computer – Keyboard and mouse modeling – 32 min
– Learning modeling techniques in Blender
– Learning shortcuts in Blender
– Modeling Apple Macintosh SE 30 keyboard and mouse
Part 3 – Old Apple – Texturing screen and computer – 36 min
– Learn to texture in Blender
– Create advance screen material
– Create material with 3 levels of bump
– Create complex material with lots of imperfections
Part 4 – Old Apple – Finish texturing and adding details – 28 min
– Continue texturing and adding details
Part 5 – Old Apple – Lighting, Compositing, After Effects post-processing – 16 min
– Lighting in Blender
– Camera setup
– Post-processing in After Effects
TUTORIAL 2 – Cinematic Look With Blender 3.0 – Step By Step Tutorial, 2h 50 Min
PART 1 – 28 min
– Setting the scene
– Import reference images
– Modeling shells using subdivision surface and proportional editing
– Create shell material and UV project
PART 2 – 21 min
– Modeling another shell
– Learning shortcuts keys and modeling process
PART 3 – 20 min
– Modeling cutting board
– Placing camera
– Camera setup, depth and field
– Placing shells and working on composition
– Lighting
PART 4 – 22 min
– Creating details (salt, parsley, sprigs of rosemary)
– Creating tablecloth material
PART 5 – 25 min
– Creating bokeh in the background
– Creating more details in the background
PART 6 – 24 min
– Creating animated fire in the background
– Creating fireplace in background
– Compositing in Blender
– Create vignette effect with objects
PART 7 – 26 min
– Exporting passes from Blender
– After Effects post-processing
TUTORIAL 3 – Creating A Movie Scene In Blender – 3 Hours Tutorial
PART 1 – CG scene created in Blender and After Effects – 33 min
– work with reference images
– creating and setting up a blender file
– electrical outlet modeling – blender shortcuts
PART 2 – Modeling Ethernet cable – 39 min
– modeling Ethernet cable
– blender shortcuts – blender modifiers
PART 3 – Ethernet cable scene – Modeling outlet – 34 min
– create materials in Blender
– blender nodes – lighting in Blender – camera setup
PART 4 – Texturing – 24 min
– Import shaders in Blender
– nodes and materials – creating a spider web in a Blender
PART 5 – Compositing and animating in Blender – 25 min
– compositing in Blender
– animating in Blender – shape Keys
PART 6 – After Effects post-processing – 27 min
– post-processing in After Effects
Who this course is for
People who love 3d and who are interested in how to achieve realism or a cinematic look
转载请注明:0daytown » Cinematic look with Blender 3.0 – 8+ hours MASTER tutorial
 Password/解压密码www.tbtos.com