Published 12/2023
MP4 | Video: h264, 1920×1080 | Audio: AAC, 44.1 KHz
Language: English | Size: 1.61 GB | Duration: 2h 44m
Create an Interactive, Realtime IoT Dashboard for Displaying Arduino Sensor Data! No Ethernet or WiFi Required!
What you’ll learn
Connect your Arduino to a web browser for control and sensor visualization without using any ethernet or WiFi modules
Create a Professional, Interactive and Visually Stunning IoT Dashboard that can be accessed via WiFi with an Device
Learn networking, register level access, reading the datasheet and interrupt driven programming
Learn how to write SocketIO Applications on the server side with Python and Flask and client side JavaScript applications
Use Python modules like and develop Asynchronous servers with Aiohttp, AsyncioIO, WSGI and Pyserial libraries
Use server, frontend and backend technologies and understand the integration of JavaScript, HTML5 and CSS with Webservers
Requirements
You have a basic understanding of Arduino
A copy of the Arduino IDE
You can hook up small circuits on a breadboard
You have python installed and can write programs in a text editor
You have access to a breadboard, male to male jumper wires and a potentiometer
Description
Microcontrollers stand as the silent architects of our daily routines, intricately woven into the fabric of countless products, invisibly orchestrating the dance between sensors and actuators. These miniature marvels power the Internet of Things and in any civilized society you’re never more than a few feet away from one! Prepare to embark on an immersive journey delving into the creation of an interactive IoT dashboard and visualize sensor data with nothing but your serial port!. Throughout this course, you’ll master HTML5, CSS, and JavaScript to breathe life into animated graphs, gauges and switches, offering a window into realtime sensor data analytics and enabling remote actuator control simulated by using the onboard LED. Along the way we’ll peer into the world of Fullstack IoT Development together!Our primary tool of exploration will be the Arduino Uno, renowned for its adaptability, affordability, and beginner-friendly IDE, but we won’t stop there. Together we will explore the datasheet and configure low level registers and learn about interrupt driven programming!This course caters to beginners, incrementing step by step and offering comprehensive code breakdowns and a structured learning environment. Supplementary exercises beyond the curriculum will fortify your understanding of essential tools and concepts.By the culmination of this course, you’ll not only comprehend the potential of merging microcontrollers, sensors, actuators, and real-time data visualization but also harness this knowledge to unlock boundless possibilities, all with your serial port. To complete this course the only hardware you’ll need is a potentiometer!Embark with us on this captivating educational voyage, where discovery awaits at every turn. I eagerly await our collective exploration in the upcoming lectures!
Overview
Section 1: Welcome!
Lecture 1 How to Take This Course
Lecture 2 Python on Windows
Lecture 3 Python on Mac
Lecture 4 Python on Linux
Lecture 5 Install Arduino IDE On Windows
Lecture 6 Install Arduino IDE On Mac
Lecture 7 Install Arduino IDE On Linux
Lecture 8 Installing Text Editors
Section 2: Introduction
Lecture 9 The Architecture of Our Solution
Section 3: Our Hardware Setup
Lecture 10 The Hardware Connection
Lecture 11 The Hardware Schematic
Section 4: The Arduino Program
Lecture 12 The Arduino Program
Lecture 13 Understanding Register Manipulation and Configuration with the Datasheet
Lecture 14 Uploading and Testing Our Sketch
Lecture 15 Serial Driver Error
Section 5: Reading COM Ports with Python
Lecture 16 Serial COM Port Programming with Python
Section 6: Networking, Servers, Client and SocketIO Communications
Lecture 17 The OSI Model
Lecture 18 Understanding SocketIO
Lecture 19 Building a Python WSGI Server with SocketIO
Lecture 20 Building a JavaScript Client with SocketIO
Lecture 21 Asynchronous Programming in Python with Asyncio
Lecture 22 Our Server Client Demo
Lecture 23 Building an Asynchronous Web Server with aiohttp
Section 7: Serial to Server
Lecture 24 Python Serial to Server Program
Section 8: Server Side Programming With Flask
Lecture 25 Introduction to Flask
Lecture 26 Writing our Flask Server Code
Section 9: Client Side Programming with HTML and SocketIO.js
Lecture 27 Client Side Programming with JavaScript and SocketIO.js
Lecture 28 Live Demo of Our Initial App Prototype
Section 10: Styling our Webpage with Bootstrap and CSS
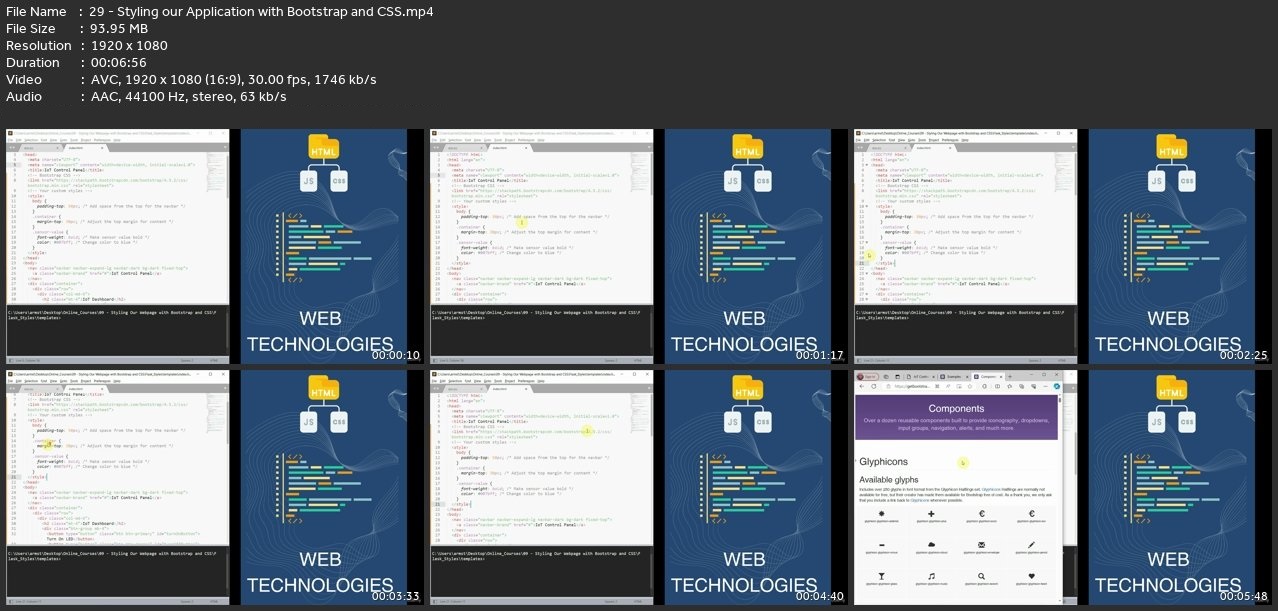
Lecture 29 Styling our Application with Bootstrap and CSS
Section 11: Adding Graphs to our IoT Dashboard
Lecture 30 RealTime Sensor Graphing on Our Browser
Section 12: Adding Gauges to Our IoT Dashboard
Lecture 31 Displaying RealTime Serial Sensor Data on Gauges in the Browser
Section 13: Completing our IoT Dashboard Application
Lecture 32 Building our End to End Application
Section 14: Accessing our Application Via WiFi
Lecture 33 Accessing our IoT Control Dashboard via WiFi with a Mobile Device
Arduino makers who wish to increase their Arduino knowledge,Arduino makers who wish to learn about IoT using their Arduino board,Electronics Enthusiasts,You want to control your Arduino board over WiFi Using Just a Serial Port,You’re Curious about IoT with Arduino
Password/解压密码www.tbtos.com
转载请注明:0daytown » Iot Control And Automation Serial To Browser With Arduino
