PowerINSPECT 2014引入了流行的图标和现代的界面,软件界面更直观,更容易使用。新的功能适合于全部类型的检测设备 – 便携式 CMM,CNC CMM,手动 CMM,激光扫描仪和光学设备。完善的检测路径编辑、热补偿;新的复杂装配CAD 输入设置,加上增强的报告和标签功能,更强化了PowerINSPECT世界领先与硬件无关的检测系统地位。
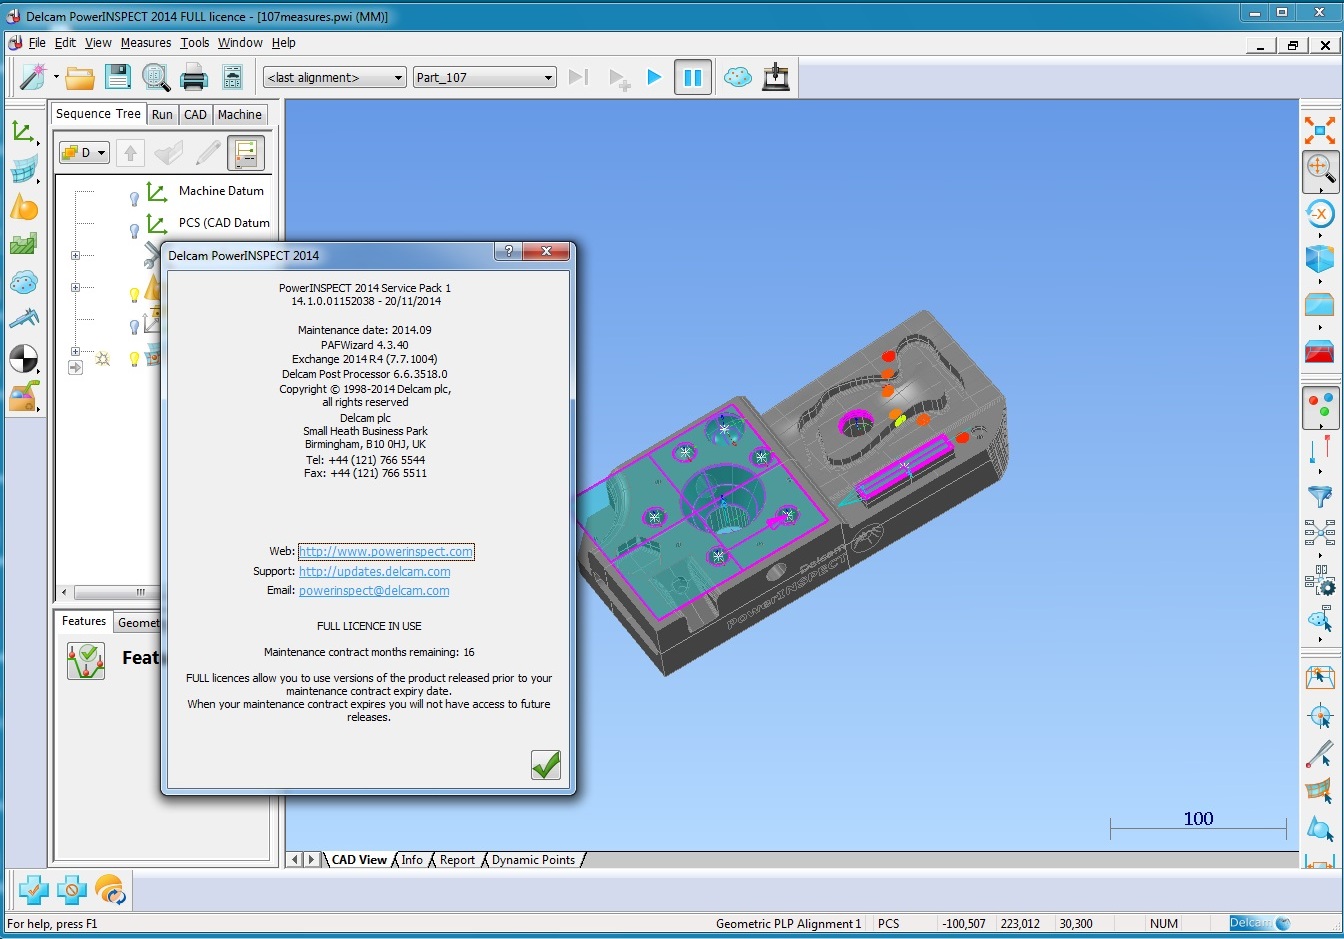
新版 PowerINSPECT 2014 的一个主要特点是推出了新的用户界面。新的用户界面开发旨在进一步使这款世界领先的与硬件无关的检测软件更易于使用。新用户界面中新的图标更直观明了,可更好地反应每个图标所代表的功能,从而使得软件更加易学易用。此外,新版还具备产生复合几何元素的功能,可进一步加速和简化测量。
新版 PowerINSPET 也极大地增强了其测量能力,软件现在可用来承担全部类型的简单测量,可检测的几何特征类型也越来越多,也提供了更多的复杂3D曲面分析工具。
PowerINSPECT 2014 还允许用户产生自定义工具栏。可将常用的一些命令组合在一起,放置在某个便于使用的位置,这样做进一步提高了操作速度,改善了使用方便程度。还可输出和输入工具栏,方便用户在不同计算机上相互传送设置,和其他操作者共享工具栏。
在检测过程中,2D特征(圆、槽、长方形等)总是被投影到一个参考平面。例如,当检测一个代表圆柱体顶部的圆时,用户希望能够测量圆的属性和其高度。PowerINSPECT 现在可产生一复合几何元素,这个复合几何元素将平面和特征组合在一起,成为一单个复合特征,并假设将检测这个2D特征,而不检测平面。这样可缩短次序树,使次序树浏览更方便。显示的报告按默认仅显示出2D特征的属性。
这个功能尤其适用于一些需要进行装配测量、调整、再测量,直到得到满意结果的交互式的建构操作。使用复合特征可更快、更方便地进行重复测量,尤其是当重新测量平面来决定圆高度时,它可立即开始重新测量,而无需进行XY定位。这个功能是针对建构和校准夹具而设计,但也可用于任何装配中需要重新测量和调整特征的场合。
新版本的测量对话视窗也得到增强。新的对话视窗除给出测量值外,还给出了更多的信息。用户现在可选取显示名义值、偏差和误差值,立即告知每个测量的特征是否在公差范围。这样,操作者能获取更完整的测量信息,从而更快地对零件状态做出决定,是继续测量还是终止测量。
新版PowerINSPECT可测量的几何特征继续增多,现在可产生探测椭圆。新建构的几何特征功能允许用户在两个圆环的相交处产生圆,然后通过它来定位S形缸体或管件的过渡点。此外,建构椭圆的测量功能也得到增强。
校准记录也得到改善,现在可将校准记录记录在测头数据库,这样可更好地跟踪数据,方便用户更好地管理校准。
PowerINSPECT 2014 现在可更好地支持 Renishaw PH20 测头。Renishaw PH20 测头由于其5轴运动功能,允许通过仅移动测座而不用移动整个CMM来测取测量点,可方便地测量任何角度的特征,使探针更换次数最少,使得这款测头越来越多地被人们接受和使用。
Delcam PowerInspect 2014 SP1 | 1.0 Gb
Delcam, one of the world’s leading suppliers of advanced CAD/CAM, has released PowerInspect 2014, a world-leading inspection software for all types of device.
The latest release of Delcam’s PowerINSPECT inspection software has a new interface with new icons that make the software more intuitive and even easier to use. Other enhancements in the new version include the ability to create compound items, and so speed up and simplify repetitive measurements, enhancements to the measurement dialogs and a further increase in the range of geometric features that can be inspected.
The new interface was developed to further improve the ease of use that has been central to PowerINSPECT becoming the world’s leading hardware-independent inspection software. Over the last few releases, the software has seen a significant increase in the range of measurements that it can make. The software can now be used to take all types of simple measurements and to inspect a growing variety of geometric features, as well as offering more tools for analysing complex 3D surfaces. In addition to making it easier to negotiate the greater range of options, the new interface features freshly-designed icons, which give a cleaner look and feel to the software.
In addition, PowerINSPECT now has the ability for users to create custom toolbars, which allow frequently-used commands to be grouped together in one convenient place, and so improve speed and ease of use. It is possible to export and import toolbars, so users can easily transfer their set-up to a different PC or share their toolbars with other operators.
During inspection, 2D features (circles, slots, rectangles and the like) are always projected to a reference plane. For example, when inspecting a circle representing the top of a cylinder, the user will want to measure the properties of the circle and its height. PowerINSPECT can now create a compound item that combines the plane and the feature together into a single compound feature, and assumes that the 2D feature is to be reported, while the plane is not. This leads to a shorter sequence tree that is easier to navigate and a report that shows only the properties of the 2D features by default.
This option is especially valuable for any iterative building operation, where an assembly needs to be measured, adjusted and re-measured until the results are acceptable. Using compound features makes it much quicker and easier to go back and forth between measurements. In particular, if the plane needs to be re-measured to determine the height of the circle, rather than the xy position, it can be re-measured immediately. This new functionality was primarily designed for the building and calibration of fixtures but it is useful in any scenario where the user has to re-measure and adjust features within an assembly.
Enhancements to the measurement dialogs in PowerINSPECT allow a wider range of information to be shown in addition to the measured values. The user can now also choose to display nominal, deviation and error values, helping to highlight immediately whether each measured feature is in tolerance. This provides the operator with more complete information, allowing even faster decisions about the status of the part and whether to continue with, or to end, the measurement routine.
The range of geometric features that can be measured with PowerINSPECT continues to be increased with a new option to create a probed ellipse. A new constructed geometric feature allows the user to create the circle at the intersection of two tori. This can then be used to locate the transition point in ‘S’ bends in tubing and ductwork applications. In addition, enhancements have been made to the measurement of a constructed ellipse.
Improved calibration records can now be recorded in the probe database. This allows better traceability of the data and provides more assistance for the user to manage their calibrations.
Finally, PowerINSPECT now includes improved support for the Renishaw PH20 probe. This probe is becoming more popular as the five-axis motion of the PH20 does not require calibration of every stylus angle and allows measurement points to be taken by moving only the head rather than the complete CMM structure, so maintaining accuracy at higher measuring speeds.
About Delcam plc
Delcam is a world-leading developer and supplier of advanced CADCAM software, with more than 35,000 customers in over 80 countries. These clients vary from global names like Nike, Boeing and Mattel to small start-ups and individual craftsmen. Founded 30 years ago, we are the largest developer of product development software in the UK, with subsidiaries in Europe, America and Asia. Our global success has been recognised with many awards, including three Queen’s Awards for Enterprise in the last six years.
Name: Delcam PowerInspect
Version: 2014 SP1 build 14.1.0.01152038
Home: www.powerinspect.com
Interface: multilanguage
OS: Windows XP / Vista / Seven / 8
Size: 1.0 Gb
Special Thanks Team-SolidSQUAD
Delcam PowerInspect 2014 SP1
Download uploaded
http://uploaded.net/file/vqxjmpcn/lcDPoIn14S1.part1.rar
http://uploaded.net/file/eu6vxw5k/lcDPoIn14S1.part2.rar
http://uploaded.net/file/6t0k054v/lcDPoIn14S1.part3.rar
http://uploaded.net/file/yxd0yamf/lcDPoIn14S1.part4.rar
Download rapidgator
http://rg.to/file/d0fc54bd19088bbd8e975d766cba3d49/lcDPoIn14S1.part1.rar.html
http://rg.to/file/26e2b3e0e080a40b577e0ab9437aaa50/lcDPoIn14S1.part2.rar.html
http://rg.to/file/d5e4939a943cc6385d874fd4a41f9171/lcDPoIn14S1.part3.rar.html
http://rg.to/file/3049f18be36de3bf42db5698cef7f058/lcDPoIn14S1.part4.rar.html
Download 百度云
你是VIP 1个月(1 month)赞助会员,
转载请注明:0daytown » Delcam PowerInspect 2014 SP1
与本文相关的文章
- Compost 14.0.16.0 x64
- Siemens NX 2206 Build 9220 (NX 2206 Series)
- Siemens Simcenter Amesim 2404 x64
- InventorCAM 2023 SP3 for Autodesk Inventor 2018-2024 x64 Multilingual
- Siemens NX 2306 Build 8900 (NX 2306 Series)
- GibbsCAM 2024 v24.0.64.0 x64
- AVL Workspace 2024 R1 x64
- AVL Simulation Suite 2024 R1 x64
- Tekla Structures 2024 SP2 x64 Multilingual
- FunctionBay RecurDyn 2024 SP1 x64 Multilingual
- Compost 14.0.16.0 x64
- Altium Designer 24.5.1 x64
