English | October 2014 | mp4 | H264 1440×810 | AAC 2 ch | 10 hrs 57 min | 4.02 GB
eLearning | Course Number: VRY102
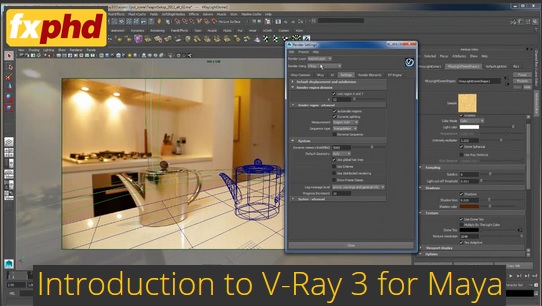
This course is an introduction to using V-Ray 3.0 for Autodesk Maya and 3DSMax. The course will focus on getting you lighting a few projects to give you experience in using V-Ray. The end of the course will focus on putting course content into action with two case study projects to enable you to put multiple course points to use in a single workflow.
By the end of this course, you will be familiar with how V-Ray works, and you will be able to:
•Shade objects with various material looks using V-Ray shaders.
•Use lights as well as the V-Ray Sun and Sky system to illuminate your scenes.
•Render with Global Illumination and discern the different engine combinations and how to mitigate render noise.
•Output render layers through Maya as well as V-Ray Render Elements and understand how to composite the elements back together (Back to Beauty comping) in After Effects.
course syllabus
Class 1
We talk about general VRay UI, as well as creating lights and the VRay Material (VRayMtl). We take an existing scene setup with mental ray and will convert it to VRay. We will complete half of our conversion of the scene: turning the plane, floor, and walls into VRay materials and putting in VRay sphere and rectangle lights in place of the Maya point and area lights.
Class 2
We finish converting the mental ray scene to VRay and get into VRay displacements (ahead of schedule!) as well as the Dome light with and without HDR use. We also get more involved with VRay Material settings and what they do.
Class 3
We will convert the lampshade over to VRay materials, including making a metallic shader and a 2-sided shader to let the lampshade glow with light with a translucence. We will also import glass objects into the scene and explore making refractive shaders. Lastly we’ll turn on GI and take a quick look at how the illumination is affected when we bounce light in the scene.
Class 4
We will replace hi-res geometry with lower res models and use subdivisions at render time to make the low tessellation look better. We’ll also take a closer look at adjusting image colors and levels in the VFB. Finally, we’ll compare different GI engine combinations and learn how to identify the type of and how to take care of noise in our renders. We’ll of course take a look at all that in Maya as well as 3ds Max.
Class 5
We will take a good look at Color Space and how to work in Linear properly in VRay for Maya as well as 3ds Max. We will use a number of techniques to make our render nicer with a VRay Physical Camera before moving on to a new scene to get a quick look inot the Sun and Sky system as well as VRay’s Car Paint shader.
Class 6
As we enter the second half of this VRay course, we’ll tread into intermediate VRay workflows. We’ll take an in-depth look into using SubSurface Scattering with VRay FastSSS2 Material and how to control it with maps. The goal is to make a simple alien figure look like a soft rubber toy. We’ll also use the V-Ray Blend Material to further it’s look, and see how to use maps to control the Blend and FastSSS2 materials. We’ll also be using V-Ray RT to visualize our work as we progress with the material work with Maya viewports as well as 3ds Max QuickShade.
Class 7
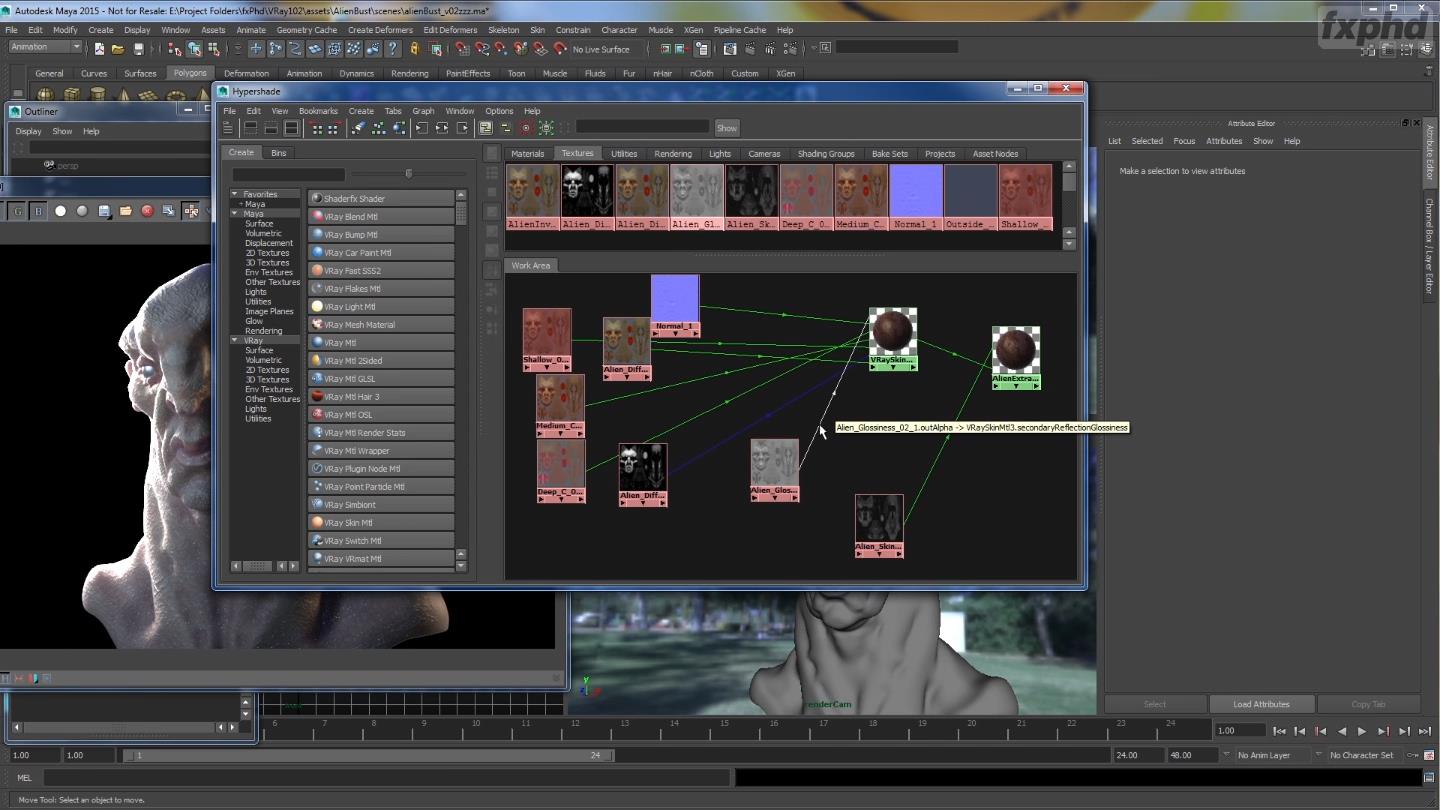
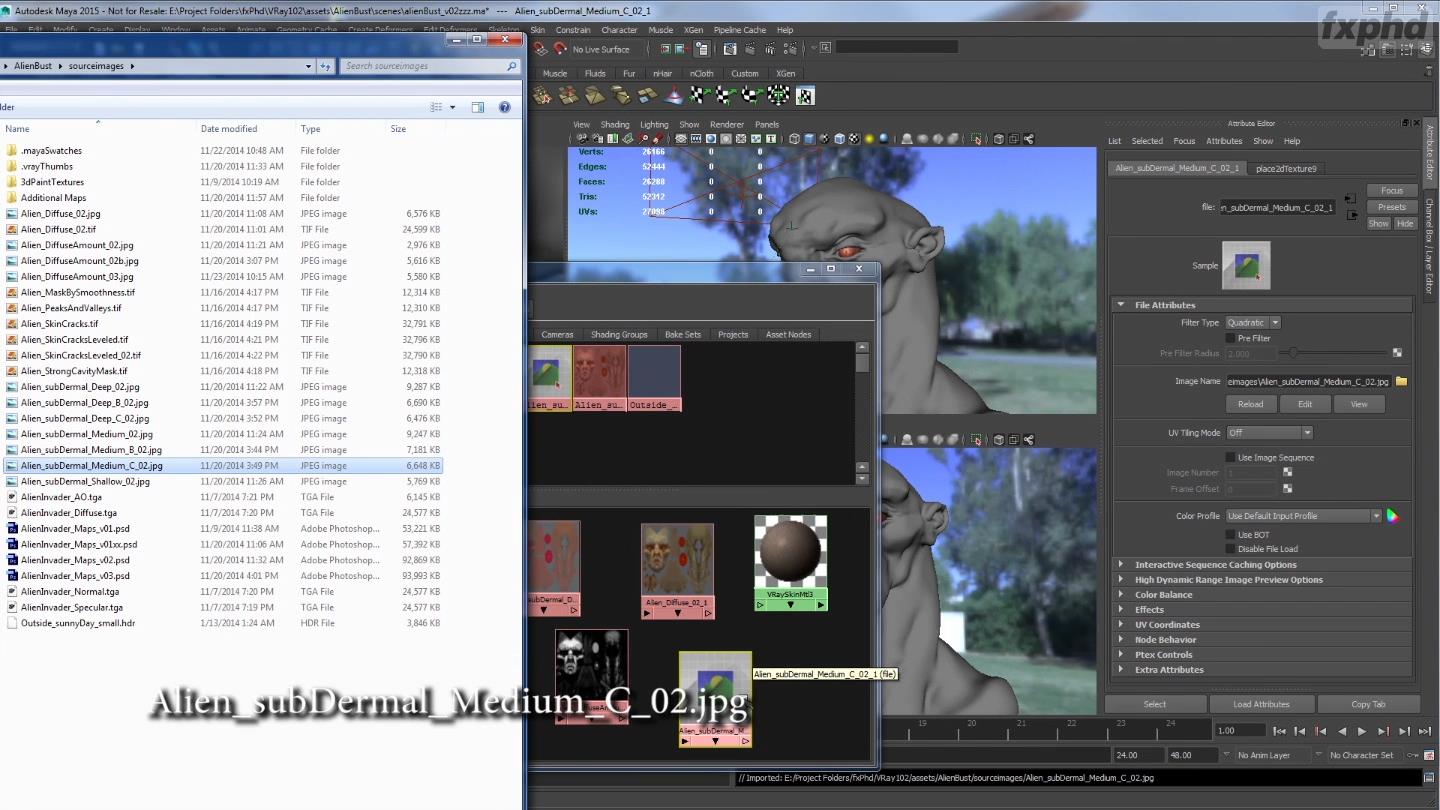
As we enter the second half of this VRay course, we’ll tread into intermediate VRay workflows. We feature an in-depth look at V-Ray 3.0’s new Skin Material with a complex alien bust model. Dariush will take you through his own look development workflow as we take a look at how to generate different sub-dermal texture maps using Photoshop using just a basic diffuse map that has been already painted. We’ll take those sub-dermal maps (as well as Normals and Bump) into the Skin Material to create a nice alien flesh look in the first class of two, and learn everything about the Skin Material.
Class 8
We are continuing with intermediate VRay workflows, as we further develop the look of this character bust. We continue with our in-depth look at V-Ray 3.0’s new Skin Material. We add a second layer of “shell” to the alien skin with the Blend material, create shaders for the eyes and finally look at using V-Ray Fur to add some whiskers and hair to the alien face. We’ll also be looking at the V-Ray Hair material in the process.
Class 9
We are continuing with intermediate VRay workflows, as we further develop the look of this character bust. We go further in-depth with V-Ray 3.0’s Hair Material. We will create hair for the character and see how the V-Ray Hair 3 Material works more deeply. We will also add a cool lighting look effect onto the character’s existing skin. And lastly we’ll take a look at the Lens Effects controls in the VFB to add a bloom and glare lens effect to the render.
Class 10
We are continuing with intermediate VRay workflows, as we finish the look of this character bust and render in passes for composite. We will render the character bust with V-Ray elements to have implicit pass control in composite in creating a “back to beauty” comp using Nuke and After Effects. We will explore the formula for adding the passes back together to form the exact beauty render in comp. We’ll also see how to add extra passes for control, including zDepth, ambient occlusion, as well as multiple RGB mattes for object control in comp.


Download uploaded
http://uploaded.net/file/5u5sx84r/3Maya.part1.rar
http://uploaded.net/file/xj9z8lfy/3Maya.part2.rar
http://uploaded.net/file/12nie8bj/3Maya.part3.rar
http://uploaded.net/file/ht1cscwl/3Maya.part4.rar
http://uploaded.net/file/hqd3ntfs/3Maya.part5.rar
http://uploaded.net/file/dhmh0fs1/3Maya.part6.rar
Download nitroflare
http://nitroflare.com/view/261045E4B968D6B/3Maya.part1.rar
http://nitroflare.com/view/2209E4CFB60DA3F/3Maya.part2.rar
http://nitroflare.com/view/0CD432688C32804/3Maya.part3.rar
http://nitroflare.com/view/7EB2018E878D374/3Maya.part4.rar
http://nitroflare.com/view/95B9E54834C686A/3Maya.part5.rar
http://nitroflare.com/view/5DB7307C7CB9C5A/3Maya.part6.rar
Download 百度云
你是VIP 1个月(1 month)赞助会员,